Several years ago I fell in love with rugosa roses. Their tough constitution (I don't have the time or patience for persnickety plants), toothy foliage and sublime fragrance get me every time. As the daughter of a police officer and the wife of one for almost 20 years, I also appreciate their prickles which are a great deterrent, when planted beneath ground-floor windows, to unwelcome guests who wish to make surprise entrances. If a shrub can provide a bit of home security and look and smell pretty doing it, giddyup!
But I made a mistake. A case of wrong plant, wrong place. In my enthusiasm, I purchased three Hansa rugosa roses, a repeat-blooming beauty whose spicy clove scent perfumed my family room and backyard. Hansa wanted to be six feet tall even when I hacked her back mercilessly every year. Subsequently she destroyed several screens and I realized it was time to find her a new home in the garden.
A little research and I discovered a new rugosa,
Dagmar Hastrup, who's smaller size would be more appropriate and still provide the attributes I was after. Unfortunately, I chose a rose that's not widely available in containers but was relieved to discover that
Edmunds Roses in Wisconsin carried them so I ordered three.

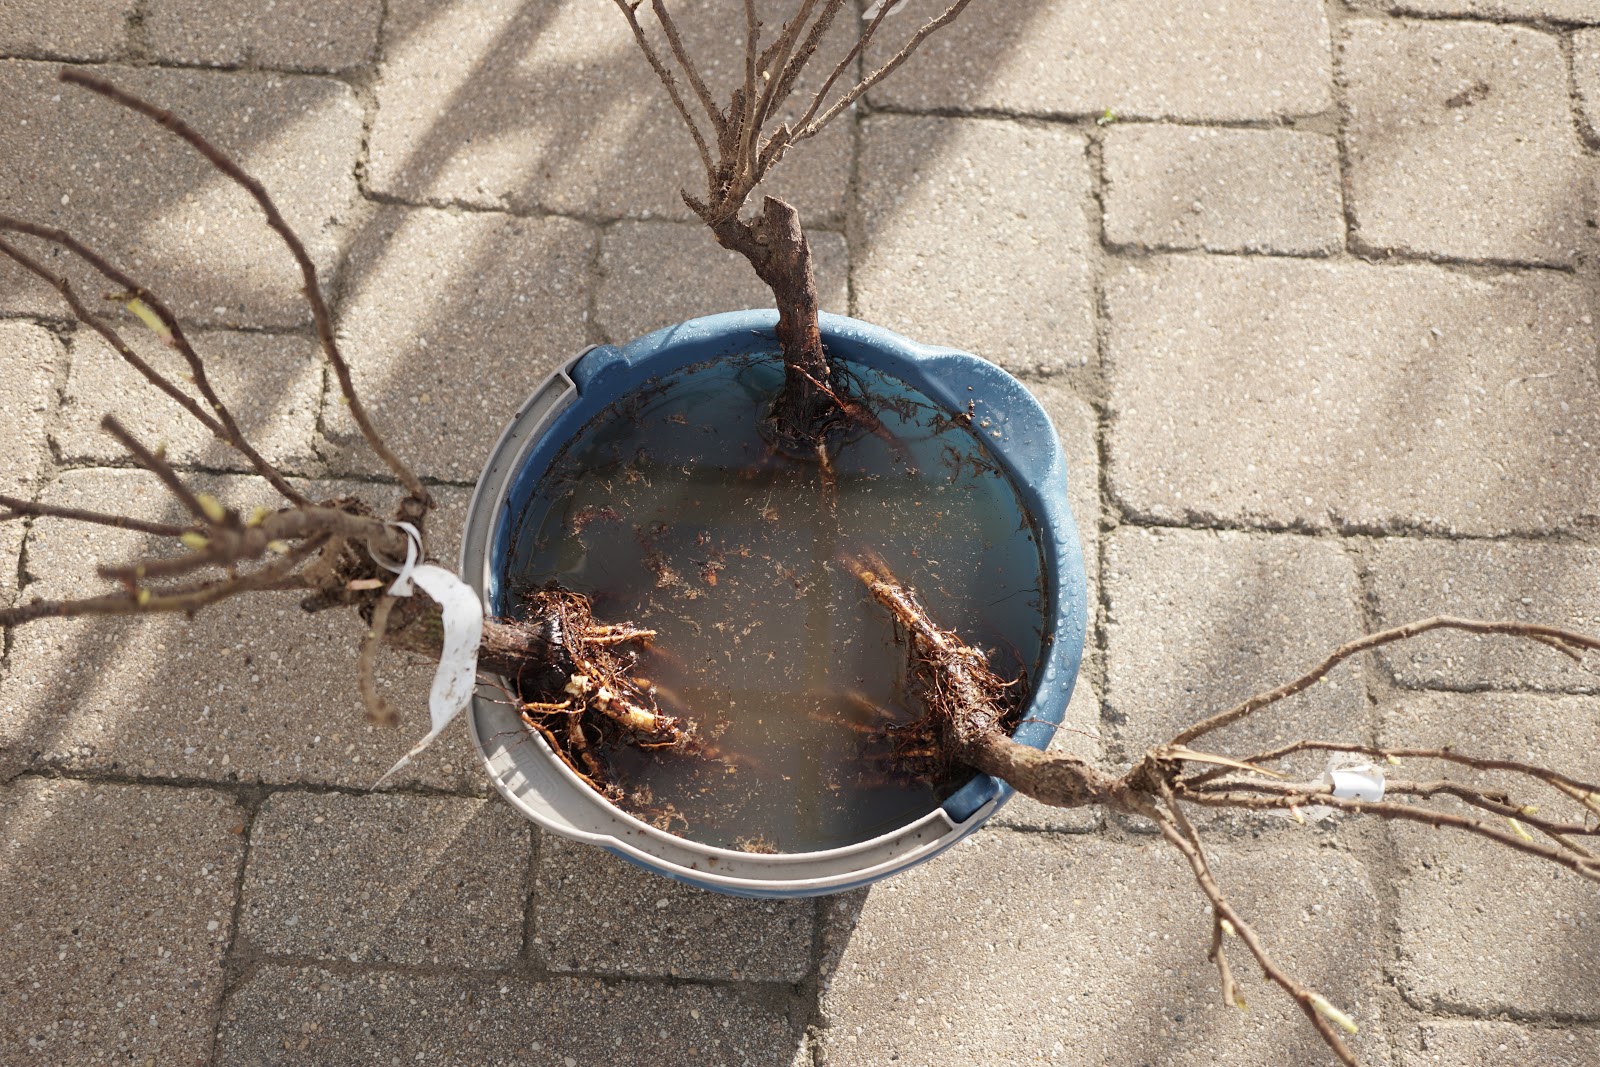
Unlike what you commonly see at garden centers and big box stores, my roses came bare root, looking more like skeletons than lush rose bushes. Maybe a little intimidating for the first-timer, but a cinch to plant. It was also important that they be own-root as opposed to budded roses. Why? I've had great luck with own-root, which simply means that the plant above ground is the same plant below. Budded roses are propagated by grafting a bud eye onto different root stock and can only produce canes from the bud union, the round knot located just above the roots. If it should produce canes from the roots (aka suckers), they will be different from the variety you purchased. Surprise! If you're cool with that, by all means rock on!
This is how my roses arrived and since it was too cold to plant them right away (this is one cold Chicago Spring!) I left them in their packaging and stored them for a few days in the basement where it was cool and dark.
The day before planting, I soaked the roots in a bucket of water with a splash (about 1.5 tsps) of
Superthrive, a vitamin solution I use on my roses and transplants. The roses were left in the bucket until planting. Never allow the roots to dry out.
When ready to plant, dig a hole wide enough to fan out the roots. Remember, always best to put a $5 plant in a $50 hole. I always amend the soil and added
Moo-Nure organic compost I bought at
Home Depot. You'll often find recommendations for making a soil cone in the bottom of the hole that you position the rose over, draping the roots along the sides. You can do this if you want to create more work for yourself. But the roses will do just fine my way provided you make sure the bud union of a grafted rose is about two inches below soil level. The same is true for own-root roses. In the photo above, the knot from which the canes in these own-root roses originate should be planted two inches below the surface. Supporting the rose with one hand, carefully back-fill the hole until it's about half full. Give the rose a little shake to eliminate any air pockets and continue filling until it's just about covered. Release the shrub and pack the soil gently with your shoe. No jumping please!
Give it a good drink and allow the soil to settle before adding the rest of the soil. Water it in well with at least two more gallons.
I top dressed each rose with more compost.
And then I bagged them. Protecting the canes by either completely covering them with soil or bagging prevents them from drying out before feeder roots become established. I cut a few small slits in the top of each bag for ventilation.
Keep them covered until you see the first leaves emerge. It took about two weeks and Voila! ROSES!
Do you have a favorite rose? I'd love to know!